
Plumbing parts and tools that fit the job
Guides to toilets, faucets, drains, pipes, water heaters and pro press tools, built from each maker's own specs and install limits.

Owned by Isaac DanielsLicensed journeyman plumber, Georgia · License JP507711
Popular Washing machine hosesToilet augers Copper press fittingsDrain cleaners
Cold supplyHot supplyDrain and vent
Tap a number to open the guide for that part of the house.
For the trade: press fittings and the tools that set them
Brands and tool lines I've used on real jobs: Viega ProPress and NIBCO Press fittings, RIDGID RP and Milwaukee M12 press tools, and the RIDGID 152 cutter and 227S reamer.
-
My first pick

Viega ProPress coupling with stop, ½ in., 5-pack
$22.94 at AmazonPrice as of Oct 24, 2026, 5:30 AM EDT · low stock then
Check it on Amazon -
Best for repair couplings

NIBCO PC601 press repair coupling, ½ in.
$11.80 at AmazonPrice as of Oct 24, 2026, 5:30 AM EDT · low stock then
Check it on Amazon -
Best compact press tool
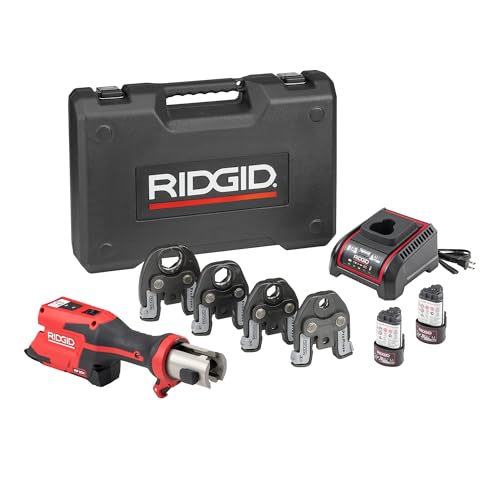
RIDGID RP 251 press tool kit, ½–1¼ in. jaws
$2,254.87 at AmazonPrice as of Oct 24, 2026, 5:30 AM EDT
Check it on Amazon -
Best if you run M12 batteries

Milwaukee M12 Force Logic press tool kit, ½–1 in.
$2,003.96 at AmazonPrice as of Oct 24, 2026, 5:30 AM EDT · low stock then
Check it on Amazon -
Best copper tubing cutter

RIDGID 152 quick-acting tubing cutter
$97.47 at AmazonPrice as of Oct 24, 2026, 5:30 AM EDT
Check it on Amazon -
Best deburring reamer

RIDGID 227S inner and outer reamer
$84.99 at AmazonPrice as of Oct 24, 2026, 5:30 AM EDT
Check it on Amazon
Each price shows the time Amazon reported it. Product prices and availability are accurate as of the date/time indicated and are subject to change.
Copper press fittings guideNIBCO vs Viega MegaPress vs ProPressRIDGID vs Milwaukee press tools Every trade guide
Most-read guides right now
Ranked by Google search clicks from Sep 19 to Oct 16, 2026.
 vs
vs
Zep Drain Defense vs Green Gobbler
Two enzyme drain cleaners: which one suits a slow drain, and which suits grease and septic lines.
Updated Oct 17, 2026
Washing machine hoses
Lengths, ¾ in. hose threads and burst-resistant braids, matched to your washer box.
Updated Oct 17, 2026
Toilet augers for home use
For clogs the plunger can't move, with cable length and bowl guards compared.
Updated Oct 17, 2026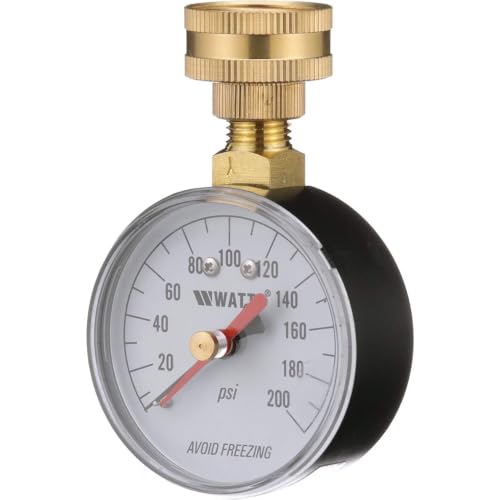
Water pressure gauges
Screw one onto a hose bib and read your home's static pressure in a minute.
Updated Oct 17, 2026 vs
vs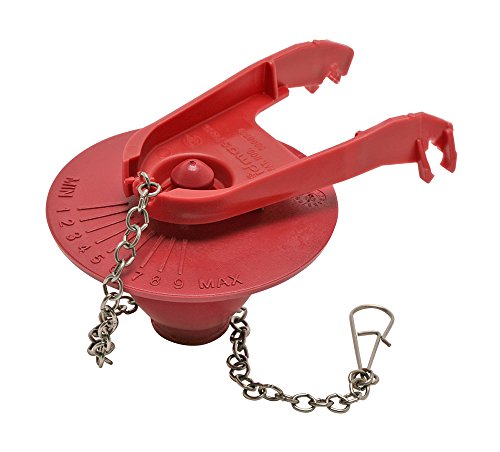
Korky vs Fluidmaster
Fill valves and flappers compared, for a toilet that keeps running.
Updated Oct 17, 2026
Drain cleaners for active clogs
Match the product to the clog: hair, grease, soap or a full stoppage.
Updated Oct 17, 2026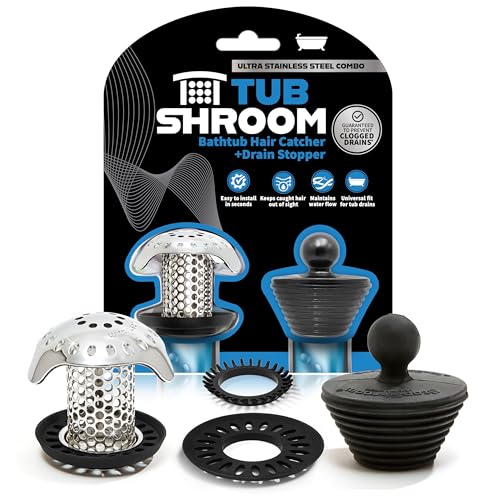
Shower drain hair catchers
Pick by drain type: tub drains, square shower grates and pop-up stoppers.
Updated Oct 17, 2026Start with what's going wrong
Pick the problem and go straight to the guide for the part that fixes it. If the fix involves gas, the main line or a permit, the guide says when to call a licensed pro.
- Toilet keeps runningFill valves and flappers compared
- Toilet clogged past the plungerToilet augers for home use
- Slow or stopped drainDrain cleaners matched to the clog
- Hair clogging the showerHair catchers by drain type
- Water pressure feels offTest it with a pressure gauge
- Washer hose bulging or drippingReplacement washing machine hoses
- Pipes bang when a valve shutsWater hammer arrestors
- Pipes freeze in winterHeat tape for water pipes
What the same leak costs in different cities
EPA WaterSense puts the average household's leaks at more than 9,300 gallons a year. Plumbing Picks priced that amount at each of 31 cities' 2025 water and sewer rates.
The water and the waste are identical. Only the local rate changes, from $65.91 a year in Las Vegas to $389.56 in San Francisco.
See all 31 citiesWork out your own leak cost
Sources: EPA WaterSense household leak estimate; 2025 water and sewer rates from the MWRA Advisory Board rate survey.
Browse the guides by category
- Toilet repairsFlappers, fill valves, augers and whole toilets74
- Faucets and fixturesKitchen and bath faucets, aerators and disposals90
- Drain solutionsDrain cleaners, snakes, catchers and pumps76
- Pipe repairsCopper, PEX and PVC fittings, cutters and repair clamps100
- Water quality and pressureFilters, softeners, heaters and pressure130
- Plumbing suppliesThread tape, putty, sealants and small parts56
- Pro and prosumer toolsPress tools, PEX tools, torches and cameras142
Who's behind Plumbing Picks
Isaac DanielsLicensed journeyman plumber, Georgia · License JP507711
Plumbing Picks is owned by Isaac. Guides are researched from manufacturer documents and published specs, and any guide Isaac has reviewed himself says so on the page.
You can check the license on the Georgia Secretary of State license lookup.
How the picks are made
- Each guide starts with the sizes, connections and install limits that decide whether a part fits your home.
- Specs come from the maker's own spec sheets and instructions. Nothing is guessed or made up.
- Amazon is the only store linked, and every price shows the time it was checked.
- Nobody pays to be included, and no product is called tested when it wasn't.